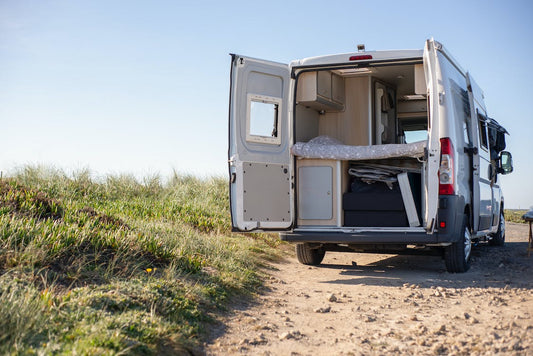
Venturing into the vast Australian landscapes means your caravan isn't just transportation; it's your home away from home. But the common ordeal of a leaking roof can swiftly transform your cozy retreat into a damp, mouldy mess.
No worries, though! With a little DIY spirit and the mighty liquid rubber membrane, you're well on your way to waterproofing your caravan roof effectively, keeping it snug and dry in all weather conditions.
Step 1: Find the Caravan Roof Leak
The first stride in your waterproofing journey is to locate exactly where the water is breaching your caravan's defenses. Focus on typical weak spots like joins or seams, which are often the first to surrender to water ingress.
You might spot signs of water damage inside, or you may need to perform a water test from the outside, watching keenly for where water trickles in. This detective work is crucial for targeted and successful waterproofing.
Step 2: Preparing Liquid Rubber Membrane Application
Now that you've identified the culprit, it's time to roll up your sleeves and get to work. Here's how to lay the groundwork for a solid, waterproof seal:
- For Minor Offenders: Small leaks might tempt you to opt for a quick silicone fix. It's an easy temporary solution but doesn't stand a chance against the might of liquid rubber for long-term protection.
- For the Ultimate Defense: Liquid rubber emerges as the champion for a thorough, durable seal. This formidable sealant is brushed or rolled onto the roof, forming a resilient, flexible membrane tailor-made to withstand the relentless Aussie climate.
Step 3: Best Tips for Liquid Rubber Membrane Application
To guarantee your waterproofing endeavor is nothing short of successful, follow these steps:
- Surface Prep: Begin with a squeaky-clean roof. Remove any old sealant, dirt, or moss to ensure the liquid rubber adheres flawlessly.
- Primer Application: Don't skimp on a high-quality primer compatible with liquid rubber. This vital step ensures your sealant bonds well and lasts longer.
- Sealing and Reinforcement: Apply the liquid rubber paint, paying extra attention to joins and seams. For added strength, embed a reinforcing polyester fabric or tape into the sealant.
Step 4: Caravan Roof Post-Repair Inspection
After the liquid rubber has set and cured, it's time to inspect your work and the caravan for any lingering issues:
- Tackle Mould and Mildew: If you uncover any mould or mildew, address it promptly with a specialized cleaner and look into improving your caravan's ventilation to prevent future growth.
- Assess and Repair Damage: Examine your caravan for any structural damage caused by the leak and make necessary repairs to insulation, wood, or paneling.
Step 5: Caravan Roof - Testing and Ongoing Maintenance
No DIY task is complete without a thorough test. Once the liquid rubber membrane is dry, perform a water test to ensure no leaks persist. Keep a keen eye on both the repaired area and the rest of the roof for any new or missed leaks.
Maintain a routine of regular inspections and touch-ups to keep minor issues from escalating. With diligent care, your caravan will continue to provide a dry, safe haven on all your Aussie adventures.
Tackling a leaking caravan roof can seem intimidating, but with liquid rubber paint and a bit of DIY know-how, it's a rewarding project that reinforces your mobile abode against the elements. Embrace this effective Australian-tailored solution, and get ready to enjoy countless dry, comfortable journeys in your well-maintained caravan!
FAQs
How do I find a leak in my caravan roof?
To locate a leak, inspect common weak spots like joins or seams. You might notice water damage inside or conduct an external water test, observing where water seeps in. Identifying the precise leak location is crucial for effective waterproofing.
What preparation is needed before applying sealant to my caravan roof?
First, thoroughly clean the roof to remove old sealants, dirt, or moss. This ensures the Liquid Rubber sealant adheres well.
If dealing with minor leaks, avoid temporary fixes like silicone; instead, use Liquid Rubber for long-term protection. For the best results, apply a compatible primer before the sealant.
What are the best application tips for Liquid Rubber sealant on a caravan roof?
Ensure the roof surface is clean and apply a high-quality primer. When applying Liquid Rubber, focus especially on joins and seams.
For enhanced durability, consider embedding a reinforcing fabric or tape into the wet sealant. This creates a stronger, more resilient waterproof barrier.
What should I do after repairing my caravan roof with Liquid Rubber?
After the sealant cures, conduct a thorough inspection for any mould or structural damage and address these issues. Finally, perform a water test to confirm there are no remaining leaks. Regular maintenance and inspections are key to ensuring long-lasting protection and a dry interior.


