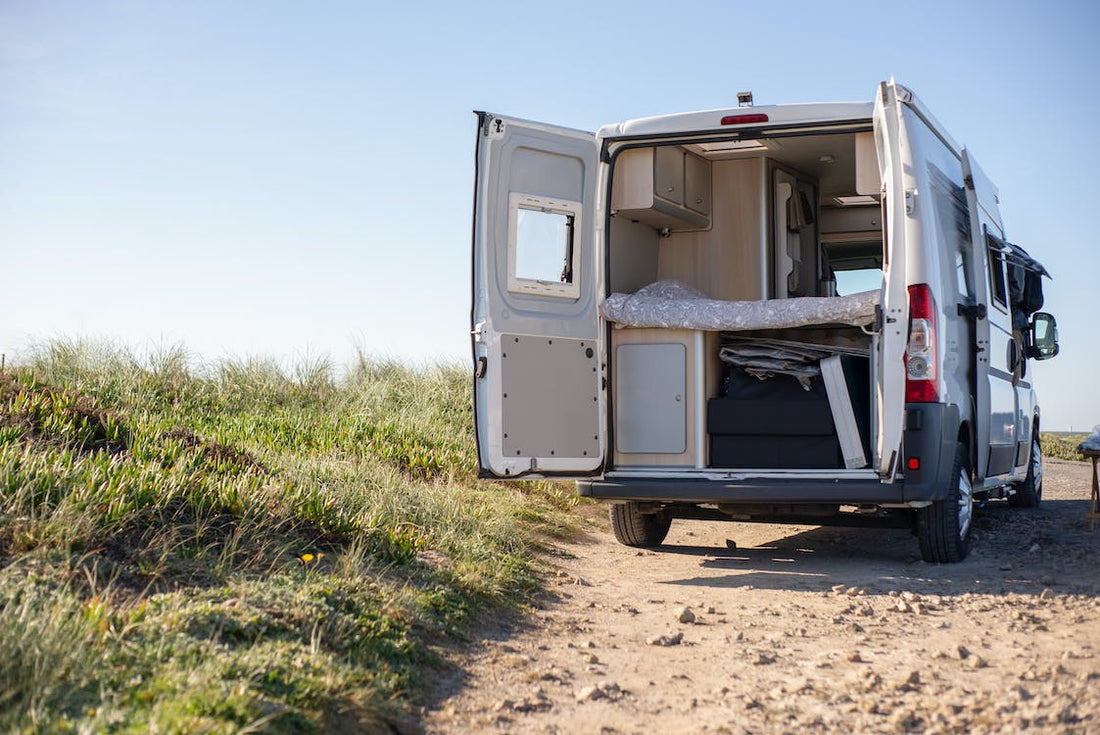
When it comes to embracing the great Australian landscape, a caravan is more than just a vehicle; it's a home on wheels. But a leaking roof can quickly turn your home into a damp, mouldy space.
Worry not, mate! With a bit of know-how and some elbow grease, you can get your caravan back to its prime. Here's a step-by-step guide using the reliable liquid rubber, a waterproof sealant that's perfect for the Aussie climate.
Find the Caravan Roof Leak
Identifying the source of the leak is your first task. Typically, weak points like joins or seams are the culprits.
You might find signs of water damage, or you might need to conduct a water test by wetting the roof and observing where it seeps through. This might require some patience and detective skills, but locating the exact spot is crucial for an effective repair.
Seal the Caravan Roof Leak
Once you've identified the leak, it's time to get down to business.
- For Small Leaks: Silicone might be a quick fix for tiny punctures or minor wear and tear. It's easy to apply and can hold over until you get a more permanent solution.
- For a Permanent Fix: Liquid rubber is your hero here. This durable sealant is painted onto the roof, creating a strong, flexible membrane that's perfect for the Aussie elements. It's particularly effective for larger or more problematic leaks. The application process might be a bit more involved, but the long-lasting protection is worth the effort.
Liquid Rubber Sealant Application Process
- Prepare the Surface: Ensure the roof is clean and dry before application. Remove any debris, dirt, or old flaking sealant. A clean surface ensures better adhesion and a more effective seal.
- Apply the Primer: Use a high-quality primer designed for use with liquid rubber sealant. This step is crucial for enhancing the sealant's waterproof properties and longevity.
- Seal and Reinforce: After priming, apply the liquid rubber sealant carefully over the leak and surrounding area. For extra durability, especially at joins or seams, consider reinforcing the seal with a polyester fabric or tape designed for use with the sealant.
Check for Further Caravan Roof Damage
Leaks can lead to more than just a wet floor; they can cause extensive damage over time. After sealing the leak, inspect the entire caravan for signs of water damage like mould, mildew, or wood rot.
- Addressing Mould and Mildew: If you find mould or mildew, clean it thoroughly with a mould removal product and consider ways to improve ventilation and reduce dampness in your caravan.
- Repairing Water Damage: Check for any structural damage caused by the leak. This might include repairing or replacing damaged wood, insulation, or interior paneling.
Test Your Repair and Look Out for Future Caravan Roof Leaks
No repair is complete without a proper test. After the liquid rubber sealant has cured, it's time to check your handiwork.
Conduct a water test by spraying the roof and observing any leaks. Pay particular attention to the repaired area, but don't neglect the rest of the roof.
Even after a successful repair, it's good practice to regularly check your caravan roof for signs of wear and tear. Regular maintenance can prevent small issues from becoming big problems down the line.
Repairing a leaking caravan roof might seem daunting, but with the right approach and materials, it's a manageable DIY project. Liquid rubber sealant offers a durable, effective solution suited to the Australian climate, ensuring your caravan remains a dry, cozy retreat no matter where your adventures take you.
So gather your supplies, take a deep breath, and get ready to restore your caravan to its leak-free glory!
FAQs
How do I find the source of a leak in my caravan roof?
To locate a leak, inspect common weak spots such as joins or seams. Look for signs of water damage or conduct a water test by wetting the roof and observing where it seeps through. This process requires patience and careful observation to accurately identify the leak's location.
What is the best way to seal small versus larger leaks on a caravan roof?
For small leaks, a quick fix like silicone can be effective, but it's temporary. For a more permanent solution, especially for larger or more problematic leaks, use Liquid Rubber sealant. It creates a strong, flexible membrane, ideal for withstanding the Australian climate and ensuring long-term protection.
What steps should I follow to apply Liquid Rubber sealant on my caravan roof?
Begin by cleaning the roof to ensure it's dry and free of debris. Apply a high-quality primer compatible with Liquid Rubber for better adhesion and effectiveness.
Then, apply the sealant carefully, focusing on the leak area. For added strength, especially at joins or seams, reinforce the seal with compatible polyester fabric or tape.
What should I check for in my caravan after repairing a leak?
Post-repair, inspect your caravan for water damage like mould, mildew, or structural issues. Clean any mould with a removal product and consider improving ventilation.
Repair or replace any damaged parts. To ensure the repair's success, perform a water test and regularly inspect the roof for new or missed leaks to prevent future problems.


