How do you waterproof a concrete block retaining wall?Start By:
|
View video below to learn how to properly prepare a retaining wall for waterproofing.
Here is how to go about that process...
Step by Step - Preparing Block Work Retaining Wall for Waterproofing

Clean the surface
- It is paramount that you clean the surface as clean as possible!
- Brush off any dirt and dust.
- Inspect the wall for any cracks and imperfections.
- Attention to detail is the key.


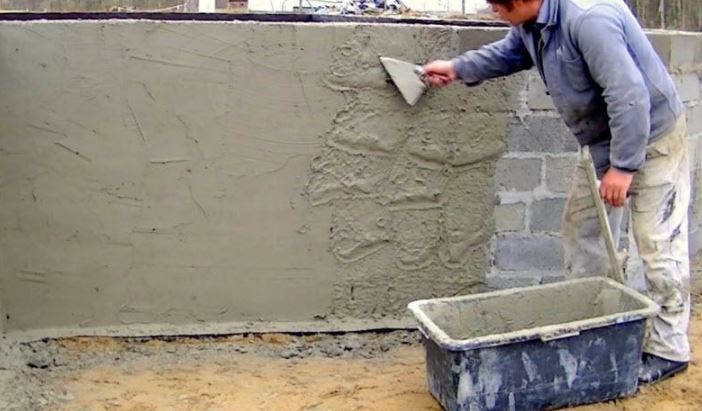
Apply sand & cement slurry
- It is a good idea to smooth out the retaining wall prior to waterproof application.
- To even out the imperfections of the wall use a sand and cement mix to bag the surface.
- Let dry completely.
- Scroll down for more tips on mixing the sand & cement.


Apply Liquid Rubber & Arma-Blue Protection Sheet
- Once the wall is completely dry, detail with Liquid Rubber and textile bandage on the footing.
- Apply 1 coat of Liquid Rubber and let dry for approx. 24 hours.
- If there is rain in the eminent forecast, do NOT apply!
- Apply second coat of Liquid Rubber and let dry for approx. 48 hours.
- Install Arma-Blue Protection Sheet by overlapping the seams to protect the Liquid Rubber membrane.
- Back fill with scoria or crushed rock and if you want to reinstate the garden above all this, you will top it with garden soil mix.
- The membrane and protection sheet should extend slightly higher than the desired garden bed finished height.
TIP!
Before backfilling, this is the time when you would install agricultural drains (AG drains), which is generally done by a plumber.
This will usually help directing the water towards the drain points rather than pooling at the base of the wall.

Tips for mixing the Sand & Cement
|


